
1970 Dodge Challenger Shaker Hood Conversion!

Chrysler's "Incredible Quivvering Air Grabber", the Shaker scoop. It's a fresh scoop about the size of a small garbage can lid bolted to the top of the engine.

Collected the important parts first, and the baseplate is on it's way. I'll collect the rest along the way.
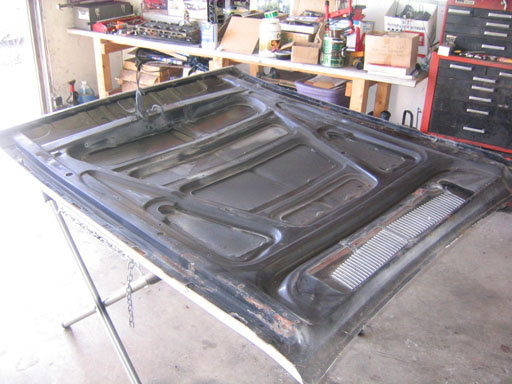
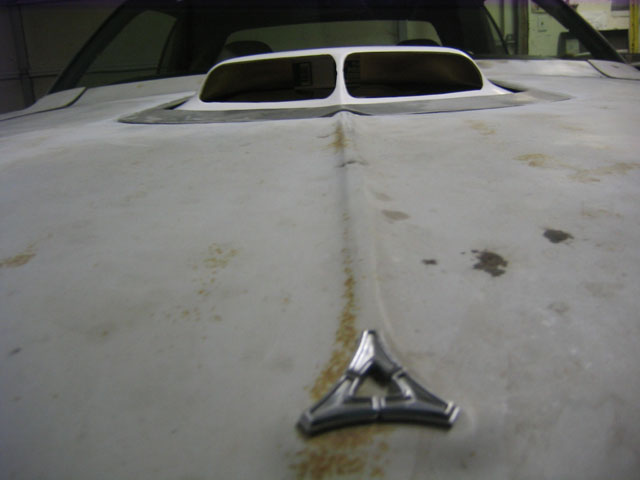
Original flat hood to my 1970 Challenger

No going back now!
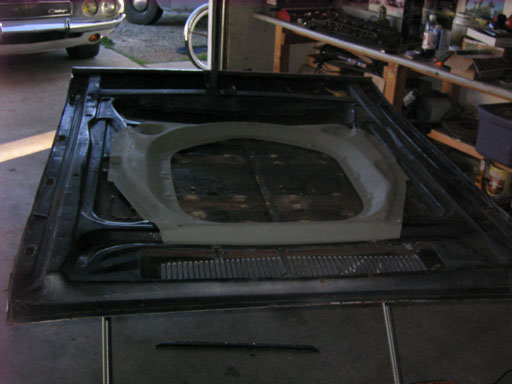
Test fitting the underhood brace.
Remove gently with cutoff wheel.

Removed hood center.

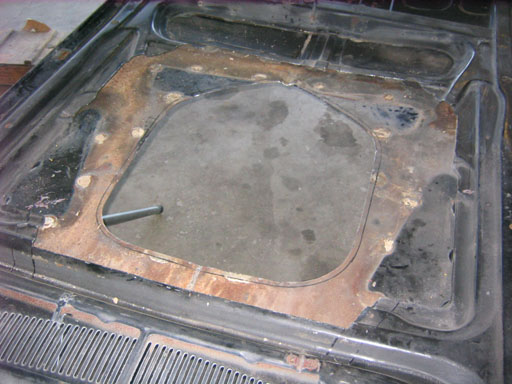
Test fitting the underhood brace. Part 2.
More mocking up.

Holes drilled for the trim ring.

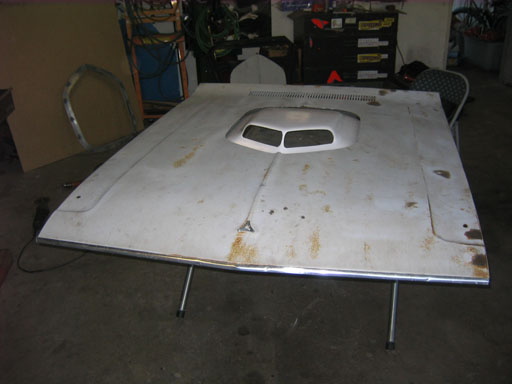
After several hours of work, it's time to call it a day. Lookin' cool!!
Lots happened between the last picture and this picture, and I didn't take any pictures! I used a flanging tool to create a little flange that the hood the shaker trim ring sits in.
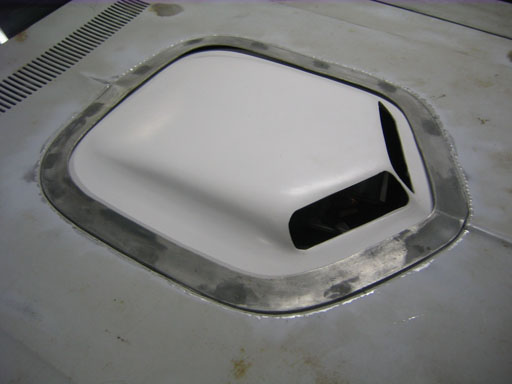
Last picture. I have since smoothed out some of the marks left by the crimping tool, welded the insert to the hood reinforcements, and gave it a coat of primer to keep it from rusting immediately.